Photography stuff I wish I knew about from the beginning #1 – The camera’s idea of correct exposure isn’t always the correct exposure
Posted: September 12th, 2013 | Tags: Photography • Tutorials | Posted in: Photography, TutorialsWe all have to start somewhere with our photography, and part of the journey between beginner and seasoned amateur involves several eureka! moments.
Over the next few weeks I’ll detail some of the things I’ve learned that have been fundamentally important in improving my photography.
1. The camera’s idea of correct exposure isn’t always the correct exposure
When I started using my DSLR in Manual Mode I held on to a belief that if the exposure meter indicator was perfectly centred everything would be fine, and by the magical powers of Canon I’d have a stunning photo at the end of it. This wasn’t the case 99% of the time.

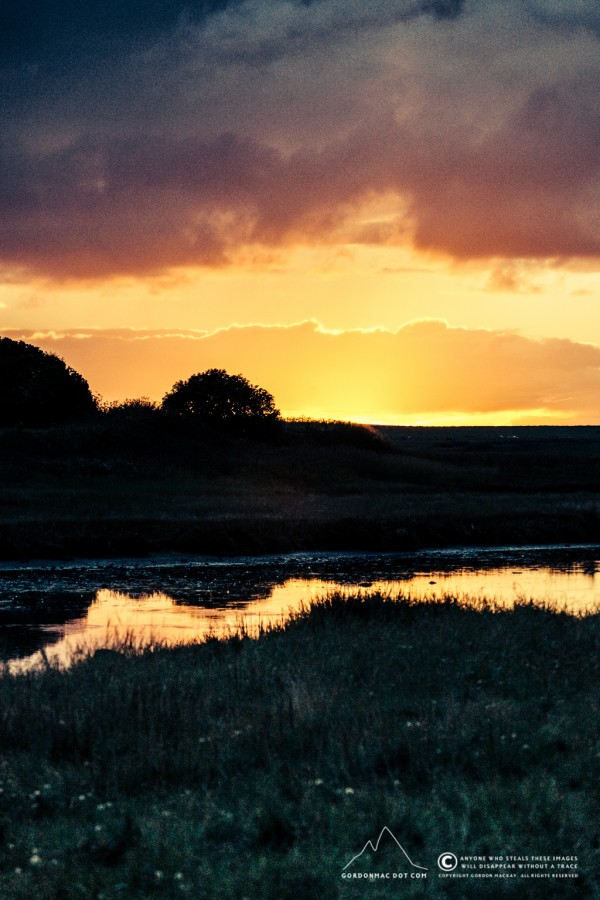
By default, the camera tries to balance the exposure for the entire scene, instead of prioritising the subject you’ve chosen, and this can cause some unexpected results if you don’t know how a camera works. A common example of one such unexpected result occurs when you have someone standing in front of a sunset and they turn into a silhouette when you take the photo. What happened? Well, the camera saw all the bright light behind the subject and set exposure based on that, meaning that the person in the foreground turned into a silhouette and the bright sky appears perfectly exposed. The camera didn’t know there was a person there, nor did it know the person was the intended subject.
Thankfully the camera allows you to change the metering mode to suit what you’re trying to photograph. The metering options on most cameras are as follows (names may vary from brand to brand):
- Evaluative metering: This is the generic metering mode used by most people. The camera sets the exposure automatically to suit the entire scene.
- Partial metering: Best used when the background is much brighter than the subject, like at sunset.
- Centre-weighted Average: The metering is weighted at the centre and then averaged for the entire scene.
- Spot Metering: Used when you want to meter for a small and precise part of your scene, like someone’s face if they are being lit from behind by a strong light source, the sun being the best example.
Out of all these options I normally only ever use two: Evaluative metering and Spot Metering.
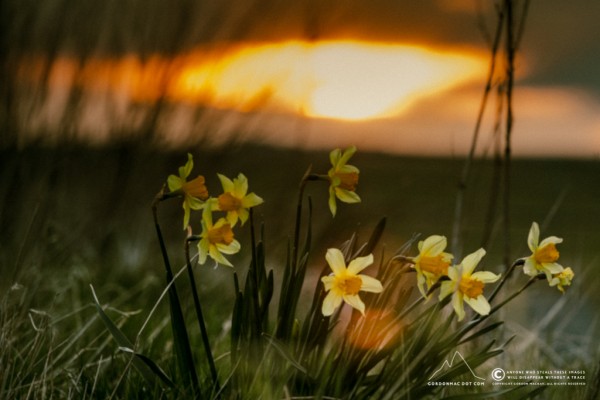
Evaluative metering works very well for me, most of the time, for most images. If I’m taking a photo of a flower, or something that’s extremely backlit I’ll use Spot Metering. I also use Spot Metering when using graduated neutral density filters, metering for the foreground mid-tones.

When I say “mid-tone” I mean a tone halfway between black and white, but as we normally take colour photographs, mid-tone can also mean middle tones of blue, middle tones of red, middle tones of magenta, etc. The meters built into DSLRs are reflected light meters, they are designed to read the light reflecting from mid-toned areas in a scene. The resulting combination of aperture and shutter speed is based on this metered mid-tone being represented correctly in the final exposure – no matter what the scene is.
The real gotchas with reflected metering come when you are photographing something that’s either black or white. The camera will try to expose correctly for middle grey, rendering your blacks and whites as greys, which isn’t so handy if you’re shooting something that must appear in the photo as white – snow for example. This is where exposure compensation is required, instead of simply relying on the camera to accurately tell you where your settings need to be.

Even if you meter correctly there will always be an element of trial and error to get your photo looking the way you want it, but just remember that the camera is never correct, what you want your photo to look like is correct. Underexposure may suit some scenes (sunsets for example), and at other times overexposure may work. Exposure is part of the creative toolkit at the photographer’s disposal, so don’t let the camera control it completely.